

Teaching a group (more than once), with breakout sessions in MS Teams
NB: This setup is complicated – if you want a simpler solution, just invite everyone to a meeting (guide here).
- Go to your Teams app on your computer and open Teams. (see how to download and install here)
- Create a team – choose the type: “Classroom” / “Klasse” (MS Manual here).
- Go to your team in Teams and add your participants:
In your Team, in the channel “General” / “Generel”, next to the team name, there are 3 dots, click and select “Add Members” / “Tilføj medlemmer” (MS manual to adding members) - Options for inviting participants:
a) For small teams: just start writing names or emails, KU-employees and student will appear and your can select and add them.
b) Create a Public team, where anyone can join (more to follow soon).
c) External Guests can be invited via email, if they have access to MS Teams through their own organisation or creat an account at microsoft.com – they will have “guest” status, but can share their screen etc.
An integration to Absalon is on it’s way, exactly how it will work is yet to be configured, but hopefully it will be an easy way to get all participants from an Absalon room into a team. (more soon!) - You now have a teaching room with your students!
- If you have a volunteer or a student helper you can upgrade this member to “owner”, so they can help you set up the next steps.
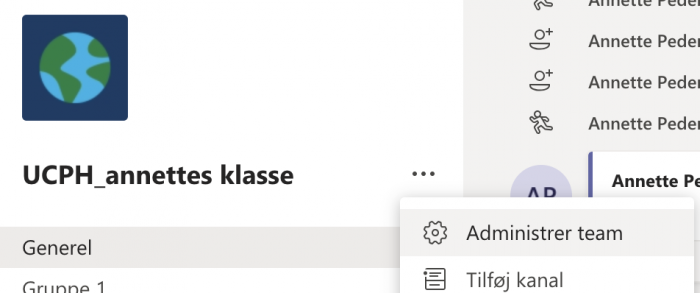
(To upgrade someone in your team: click the 3 dots next to the team name, and select “Manage Team” / “Administrer Team”, find your helper and upgrade that person to “owner” (you can downgrade them later).

- In your Team, click the 3 dots next to the team name, and select “Add Channel” / “Tilføj Kanal” and is it important that you choose a Private Channel! Name it ie. “Group 3”. You will see the padlock next to the channel name.
- Go to the private channel ie. “Group 3”, click the 3 dots next to the channel name and select “Add members” / “Tilføj medlemmer” and add the students you want to be in group 3. (if your start typing their names, they will appear as you have added them to the room).

- You have now divided your students into work groups, and are ready to teach!During Teaching:
- You can have a video meeting for everyone in the “General”/ “Generel” channel (or another public channel, where everyone are automatically member ie. “Seminar 30-03-20”. Simply press the camera button
 in the options bar at the bottom, a preview will pop up: simply press “Meeting now” / “Møde nu” – And you can start teaching everyone.
 - When you want your students to discuss in groups – ask them to go to their private group channel, where they can collaborate and start their own video conversation (with just the group) If one student click the camera button in the options bar at the bottom, a preview will pop up: simply press “Meeting now” / “Møde nu”. (More about options in channels in this MS guide)
- While students are in their private session the teacher can just stay (alone) in the video session running in the “Seminar” channel – the students will be “On hold” / “Venteposition” while they are in video groups.
When they are done discussing (remember to set a time, as everyone are now in separate rooms!) everyone can come back to the teacher’s channel – and the whole class are together again.
Guide to the Teams Control Task Bar

Time: Duration of meeting
Camera on/off
Microphone on/off
Share Screen / Stop Sharing
More Options (blur background, record etc)
Chat (opens chat sidebar)
Participants (opens participant list in sidebar)
Red Phone button: Leave video meeting (doesn’t end meeting for everyone).